Nappy Wallet - Free Tutorial

Nappy Wallet - Free Tutorial

 So now we are getting out and about more here’s a tutorial for a handy nappy wallet that I originally made when Amelia was a baby for those 'just popping out, won’t be long times' - when you are defiantly out longer than planned! I had been chucking a nappy and a half packet of wipes in my bag if I wasn't planning on being out long. When the nappy didn’t get used it eventually got all grubby and I ended up throwing it away.

The nappy wallet was designed with the intention of just having a couple of nappies, a half pack of wipes  and a small patch pocket for a couple of nappy sacks. The wallet could be put under the pram, in the car or just chucked in my bag - much handier than lugging a full changing bag for quick visits. Amelia's is now a bit worse for wear but it was a great little make, so useful at the time! I found it when giving her room a good sort out and thought you might like to make one too.

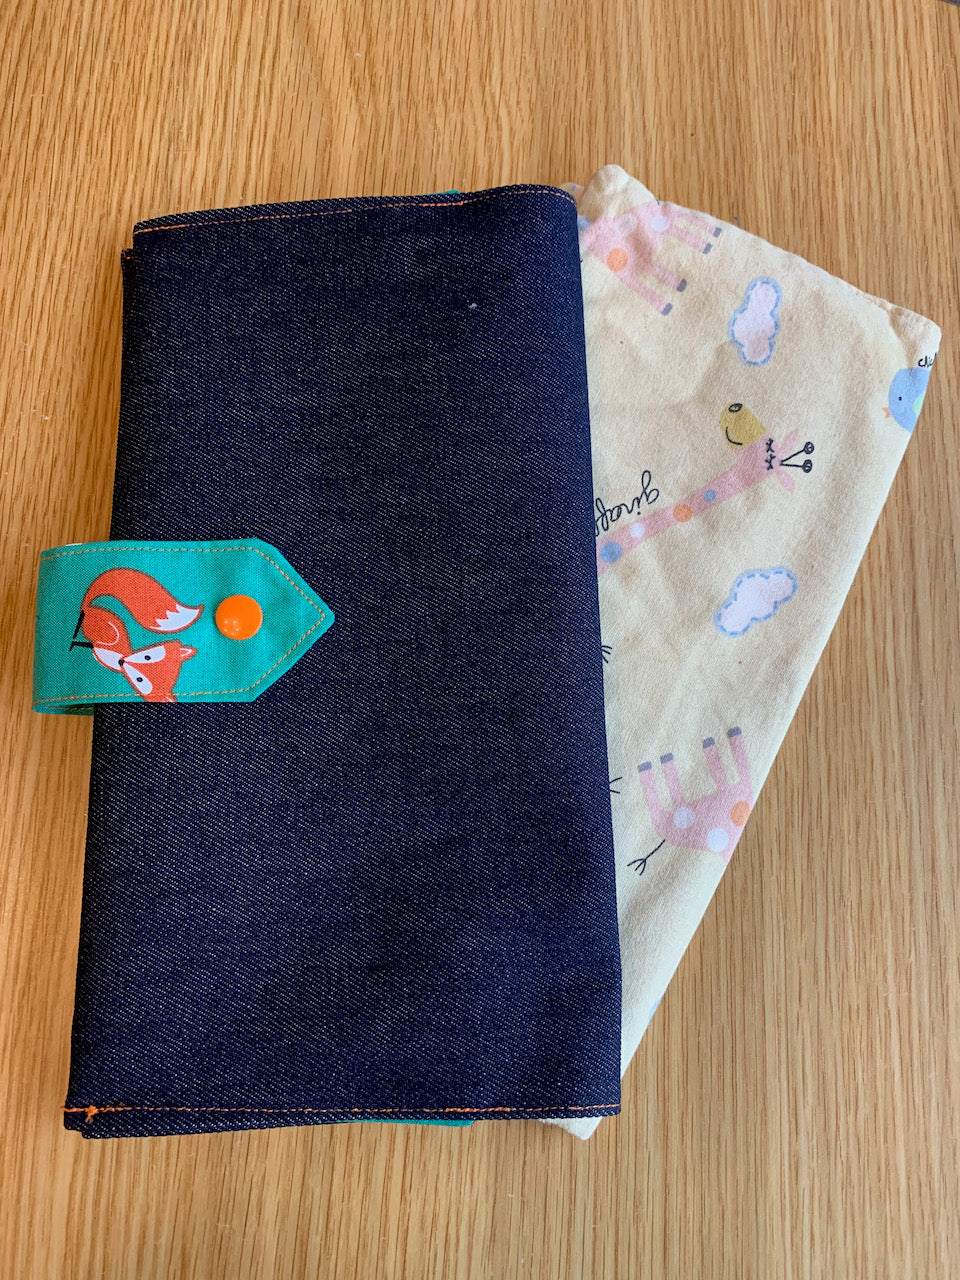
Might be worth mentioning that I made Amelia's out of cotton fabric. Was very floppy but it did the job. You might want to add interfacing for a sturdier wallet or as I've done in this case, used a heavier weight for the outer fabric (denim).

Here how to make one:

N.B. There is a 0.5cm seam allowance throughout.

                         You will need:
Two pieces of fabric 27cm x 50cm
One outer and one lining
*
One piece of fabric 9cm x 13cm
Patch pocket
*
Once piece of fabric 10cm x 18cm
Strap
*
Kam snaps.


 Take your patch pocket and fold in half, good sides together. Sew round the three sides, leaving a turning gap.  Top stitch one edge. Put to one side. Take the other small fabric piece and fold the strap fabric length ways and sew across one end and down the side, leaving a turning gap. Fold the strap in half length ways to the seam to find the half way point. Sew to a point from approx 2 cm down. Add a scrap of interfacing to the point - I did this on both sides as this will reinforce the area of the Kam Snap. Turn, press and top stitch round the whole strap. 


Take the patch pocket and position in on
the shorter edge of your OUTER fabric. Position 2 cm in with the top stitched edge Close to the edge of the fabric. Top stitch it in position on the other three sides.
   Take the strap and positioning  
    the centre 17cm in from  
    the other side of the fabric. To  
   secure this to the outer
    fabric sew across the bottom of the top stitching and  
    form a rectangle about 3cm wide. Add some extra  
    stitching to form a cross.
 
 
The popper also needs to be added to the outer fabric at this point.  On the opposite side the strap was added measure 15cm in from the side and position in the centre. I reinforce the fabric with a scrap of felt between the back of the popper and the outer fabric.
 
   Place both the inner and outer fabrics together, good   
   sides facing together. Sew together leaving a turning  
   gap. Make sure you move your closing strap away from
   the outer seam or you will just catch the tip (Don't ask
   how I know lol) I would leave the turning gap off to one
   side on one of the longer edges. Clip corners, turn and
   press. Top stitch the two shorter side. Fold the whole
   project in half and finger press a crease in the middle. Now fold each side in. They need to be 4cm from the centre crease. Top stitch along the top and bottom of the wallet to form the pockets.
Almost done. You just need to add the last popper to the strap to keep the wallet closed. Remember - you do not want this to be a snug close because you will be adding a couple of nappies. I found having a half empty pack of wipes ideal for taking out too. 
             
I hope you find this a useful little project - Mine was well used as you can see. I'd defiantly recommend a darker fabric too.
.                         
If you are making to sell - feel free to make these. I sold them at local craft fairs.
Happy sewing
Dawn x 
Back to blog

Leave a comment

Please note, comments need to be approved before they are published.